2002 MINI Cooper Driver Window Regulator Replacement
Quick Summary
A 2002 R50 MINI Cooper Base needed its driver-side window regulator replaced. The customer supplied the replacement part. The mechanical swap was only part of the job: the decisive installation detail was the regulator cable path at the upper rear of the driver's door. A cable can be crossed, pinched, pulled out of its guide or routed against the door structure and still move the glass initially. Before the trim went back on, the cable housings and guides were checked, the glass attachment and alignment were verified, and the window was operated through its full travel several times. Smooth, even movement without binding confirmed the installation.
- Vehicle
- 2002 MINI Cooper Base (R50)
- Difficulty
- ★★☆☆☆
- Repair Time
- Not documented hours
- Outcome
- Driver-side window operation restored with a customer-supplied regulator after its cable path and glass alignment were checked before final door reassembly
Vehicle Information
| Year | 2002 |
|---|---|
| Model | Cooper Base |
| Chassis | R50 |
| Transmission | Not documented |
| Mileage | Not documented |
Repair Timeline
- Customer concern Complaint The driver-side window regulator required replacement, and the customer supplied the replacement regulator.
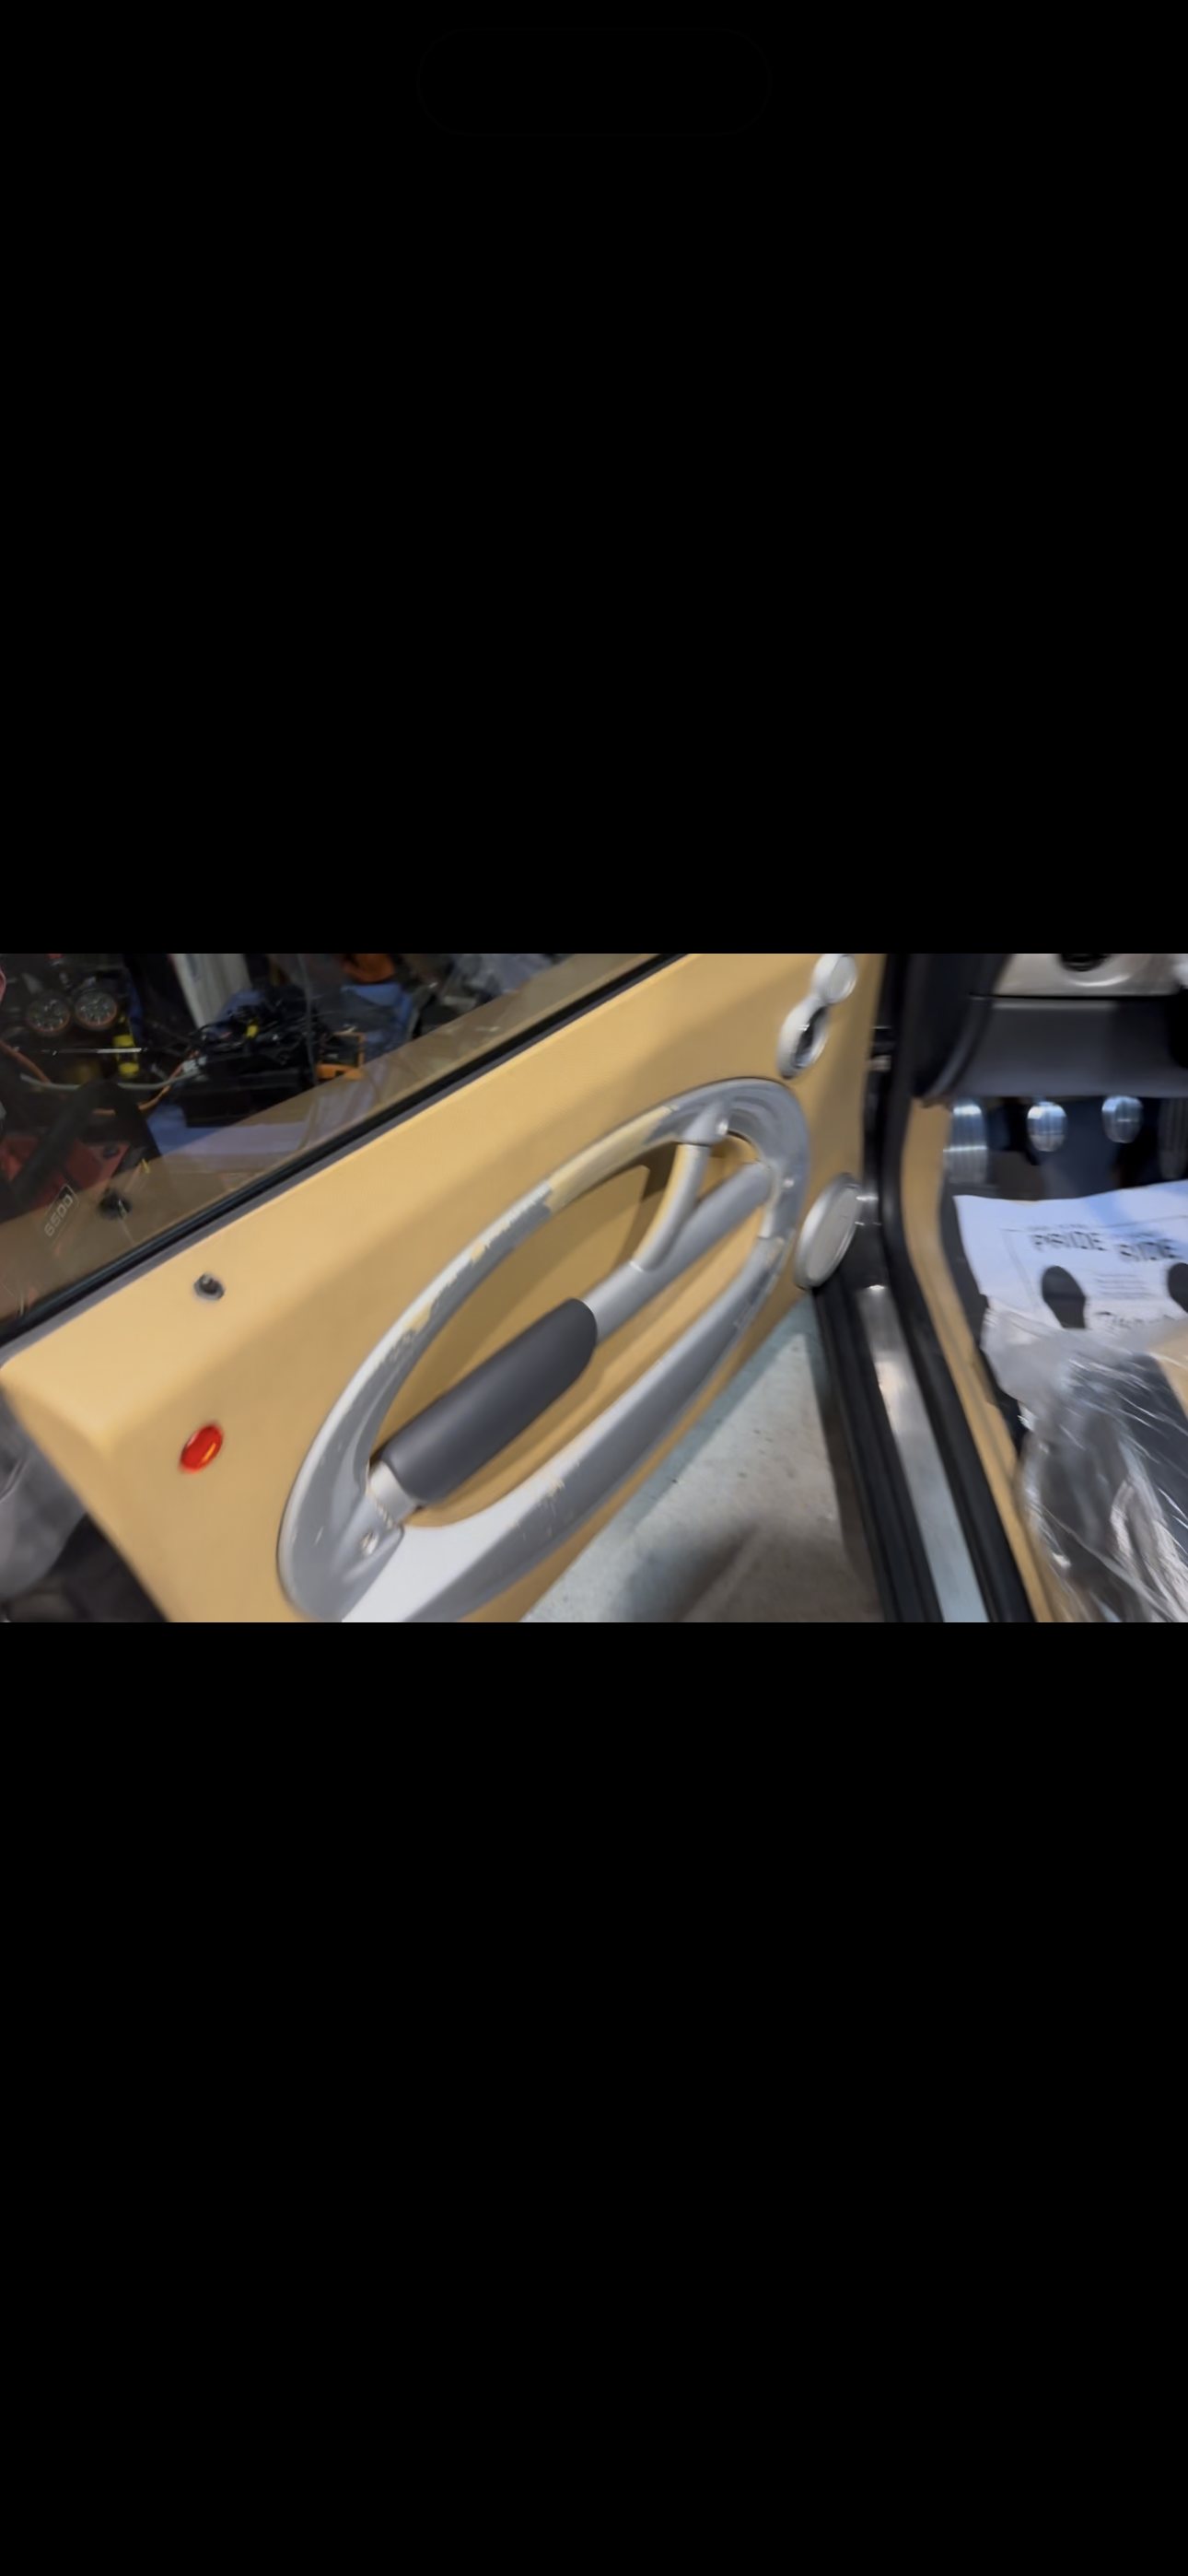
- Access Diagnosis The driver's door trim was removed and the glass was supported and separated from the regulator as required for access.
- Repair Repair The original regulator was removed and the customer-supplied replacement was installed.
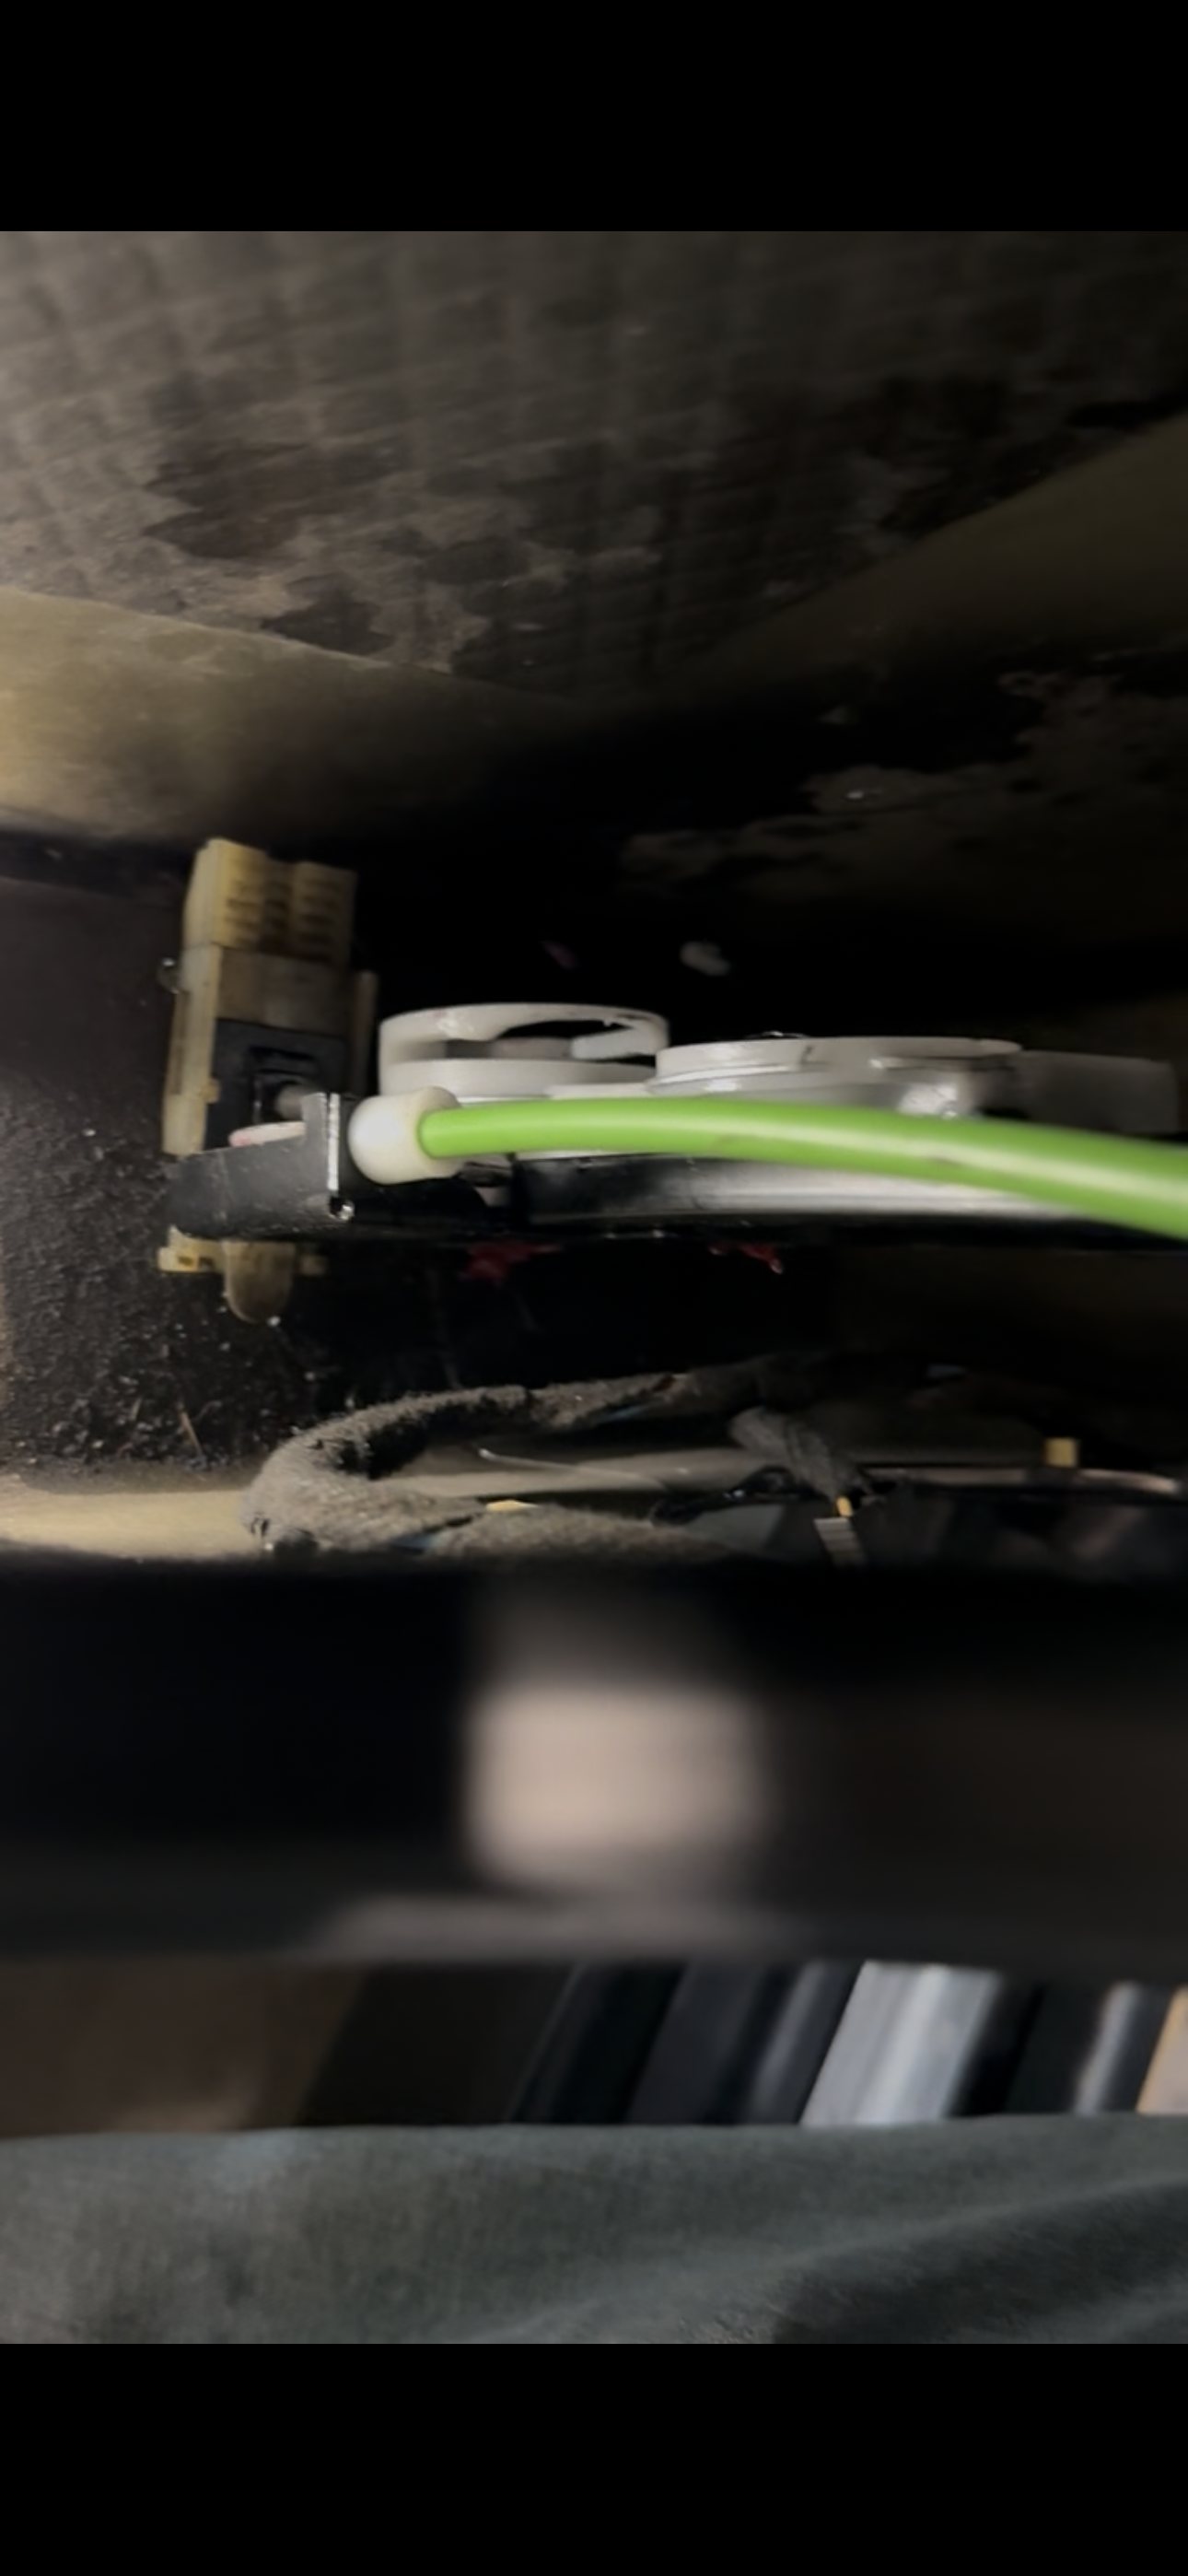
- Routing check Verification The regulator cable path was inspected closely, especially at the upper rear of the door, and the glass attachment and alignment were checked.
- Functional verification Verification Before final reassembly, the window was operated through its full travel repeatedly and moved smoothly without binding.
Customer Complaint
The driver-side window regulator required replacement. The customer supplied the replacement regulator for the repair.
No mileage, fault codes, regulator manufacturer, part number, price or motor replacement were documented. Those details are therefore not inferred here.
Symptoms
- Driver-side window regulator required replacement
- Driver's door had to be opened for access to the window mechanism
- Correct cable routing at the upper rear of the door was critical to the installation
- Final operation needed to be checked before the interior trim was fully reinstalled
The repair record does not describe the original regulator's internal failure, so it would be misleading to claim a broken cable, damaged pulley or failed motor as the cause.
Diagnostic Process
Treat the supplied part as a repair starting point, not proof of the failure mode. The job was presented as a regulator replacement, and the customer supplied that component. The old regulator still had to be removed carefully and the surrounding door mechanism observed rather than assigning an undocumented internal defect to it.
Open the door far enough to see the complete mechanism. The driver's door trim was removed, and the glass was supported and separated from the regulator as required. This exposed the rails, cable housings, guides and glass attachment areas that cannot be judged with the door panel installed.
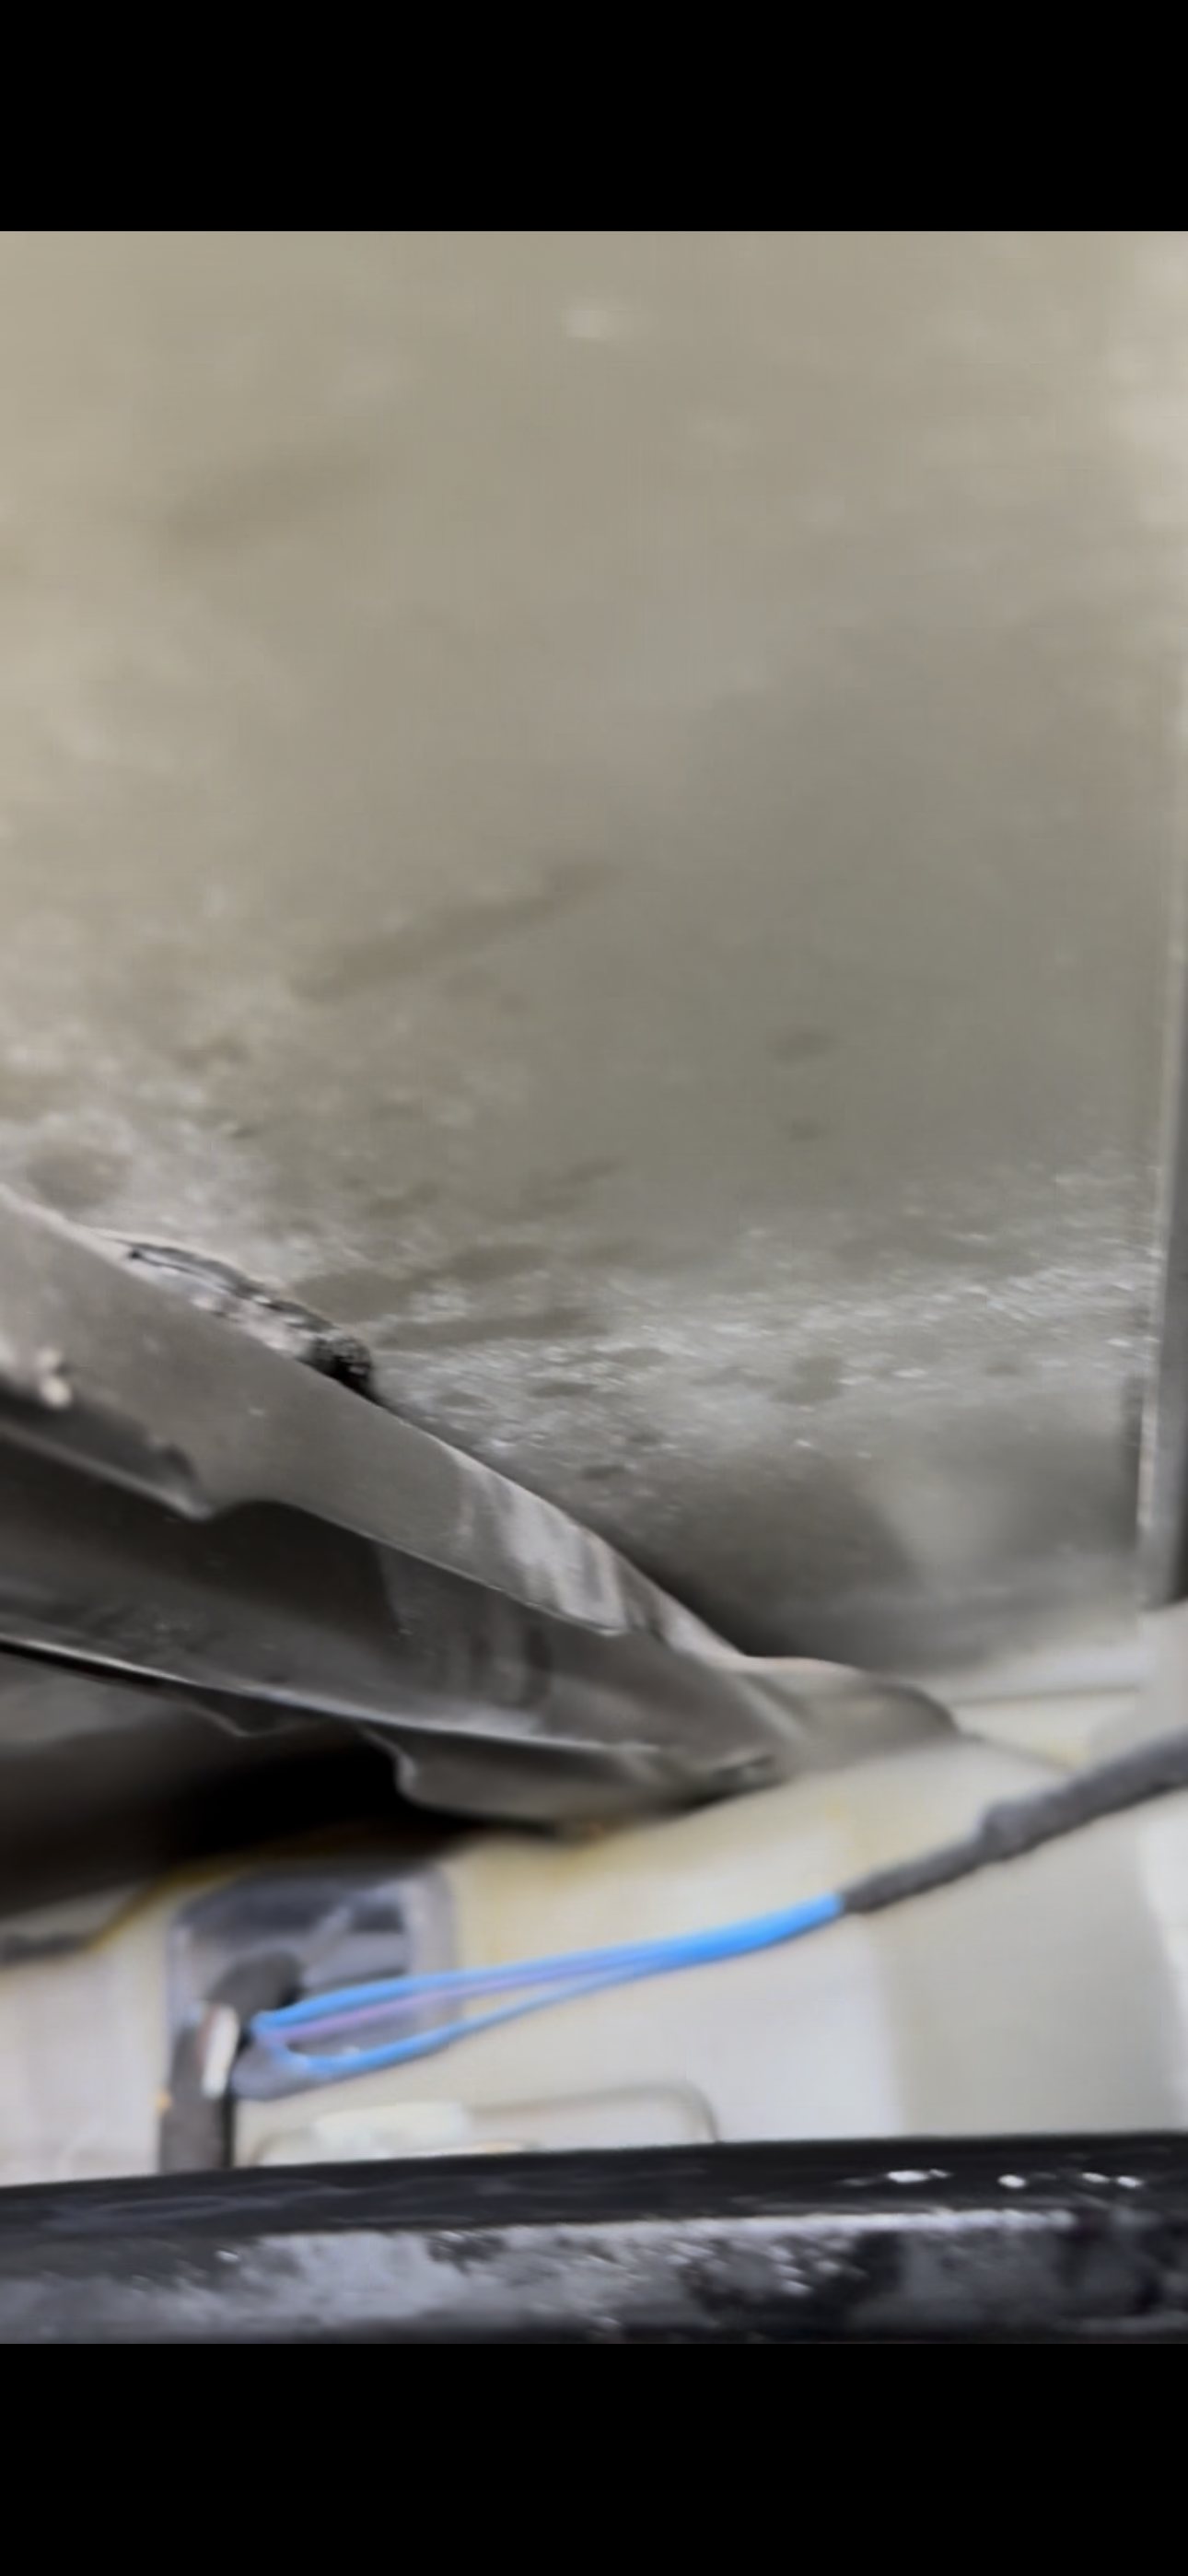
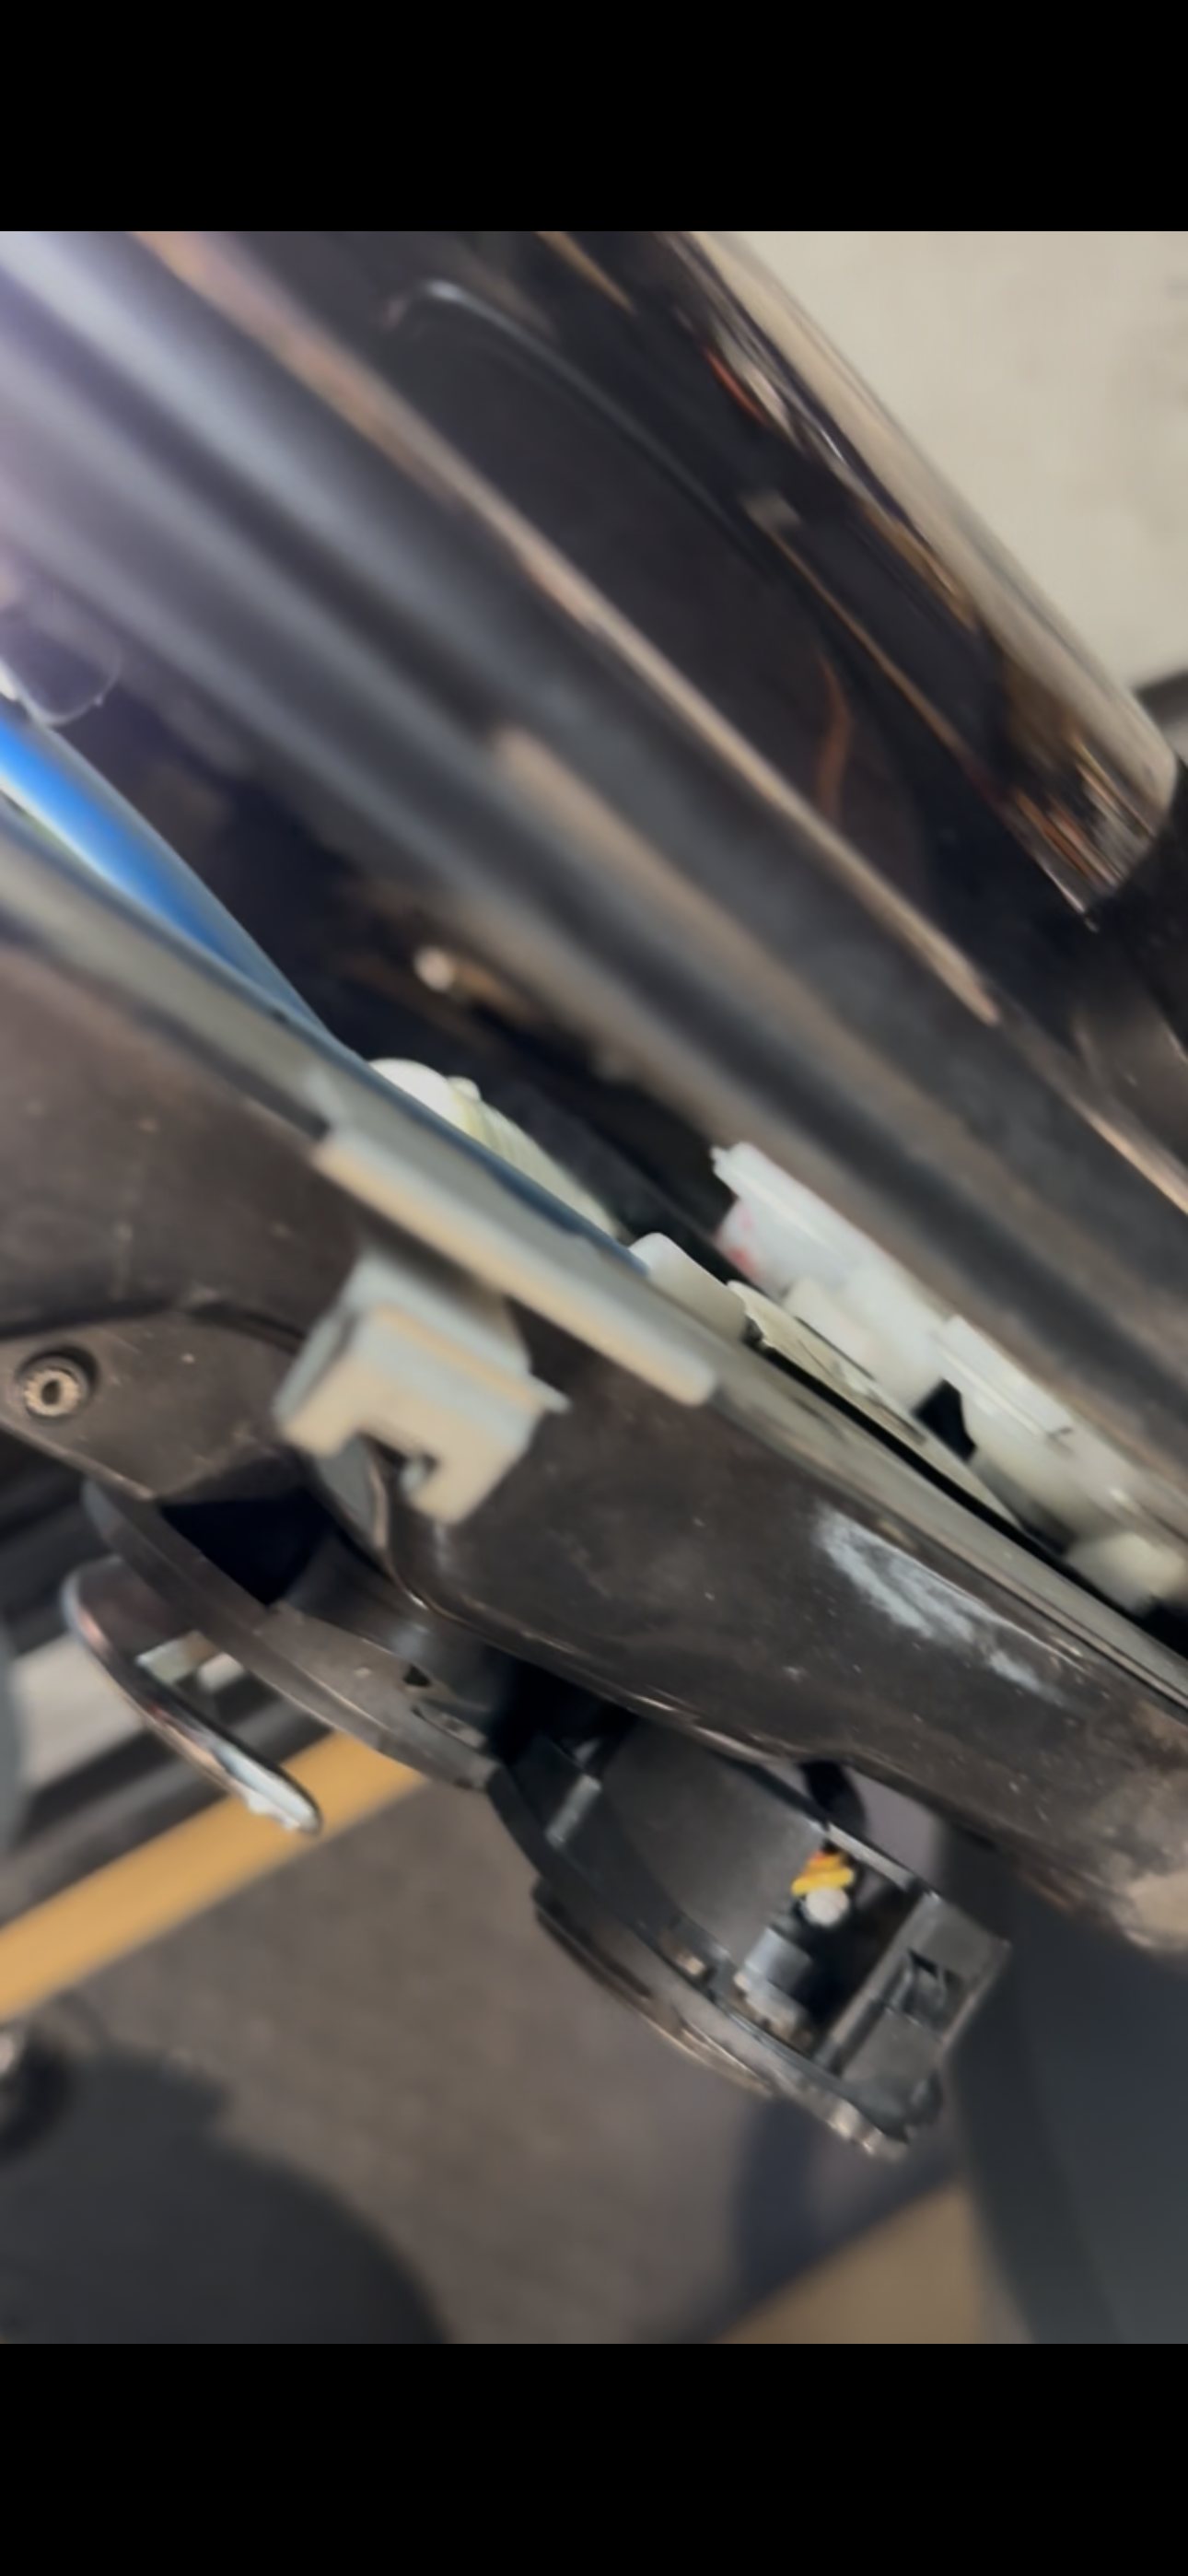
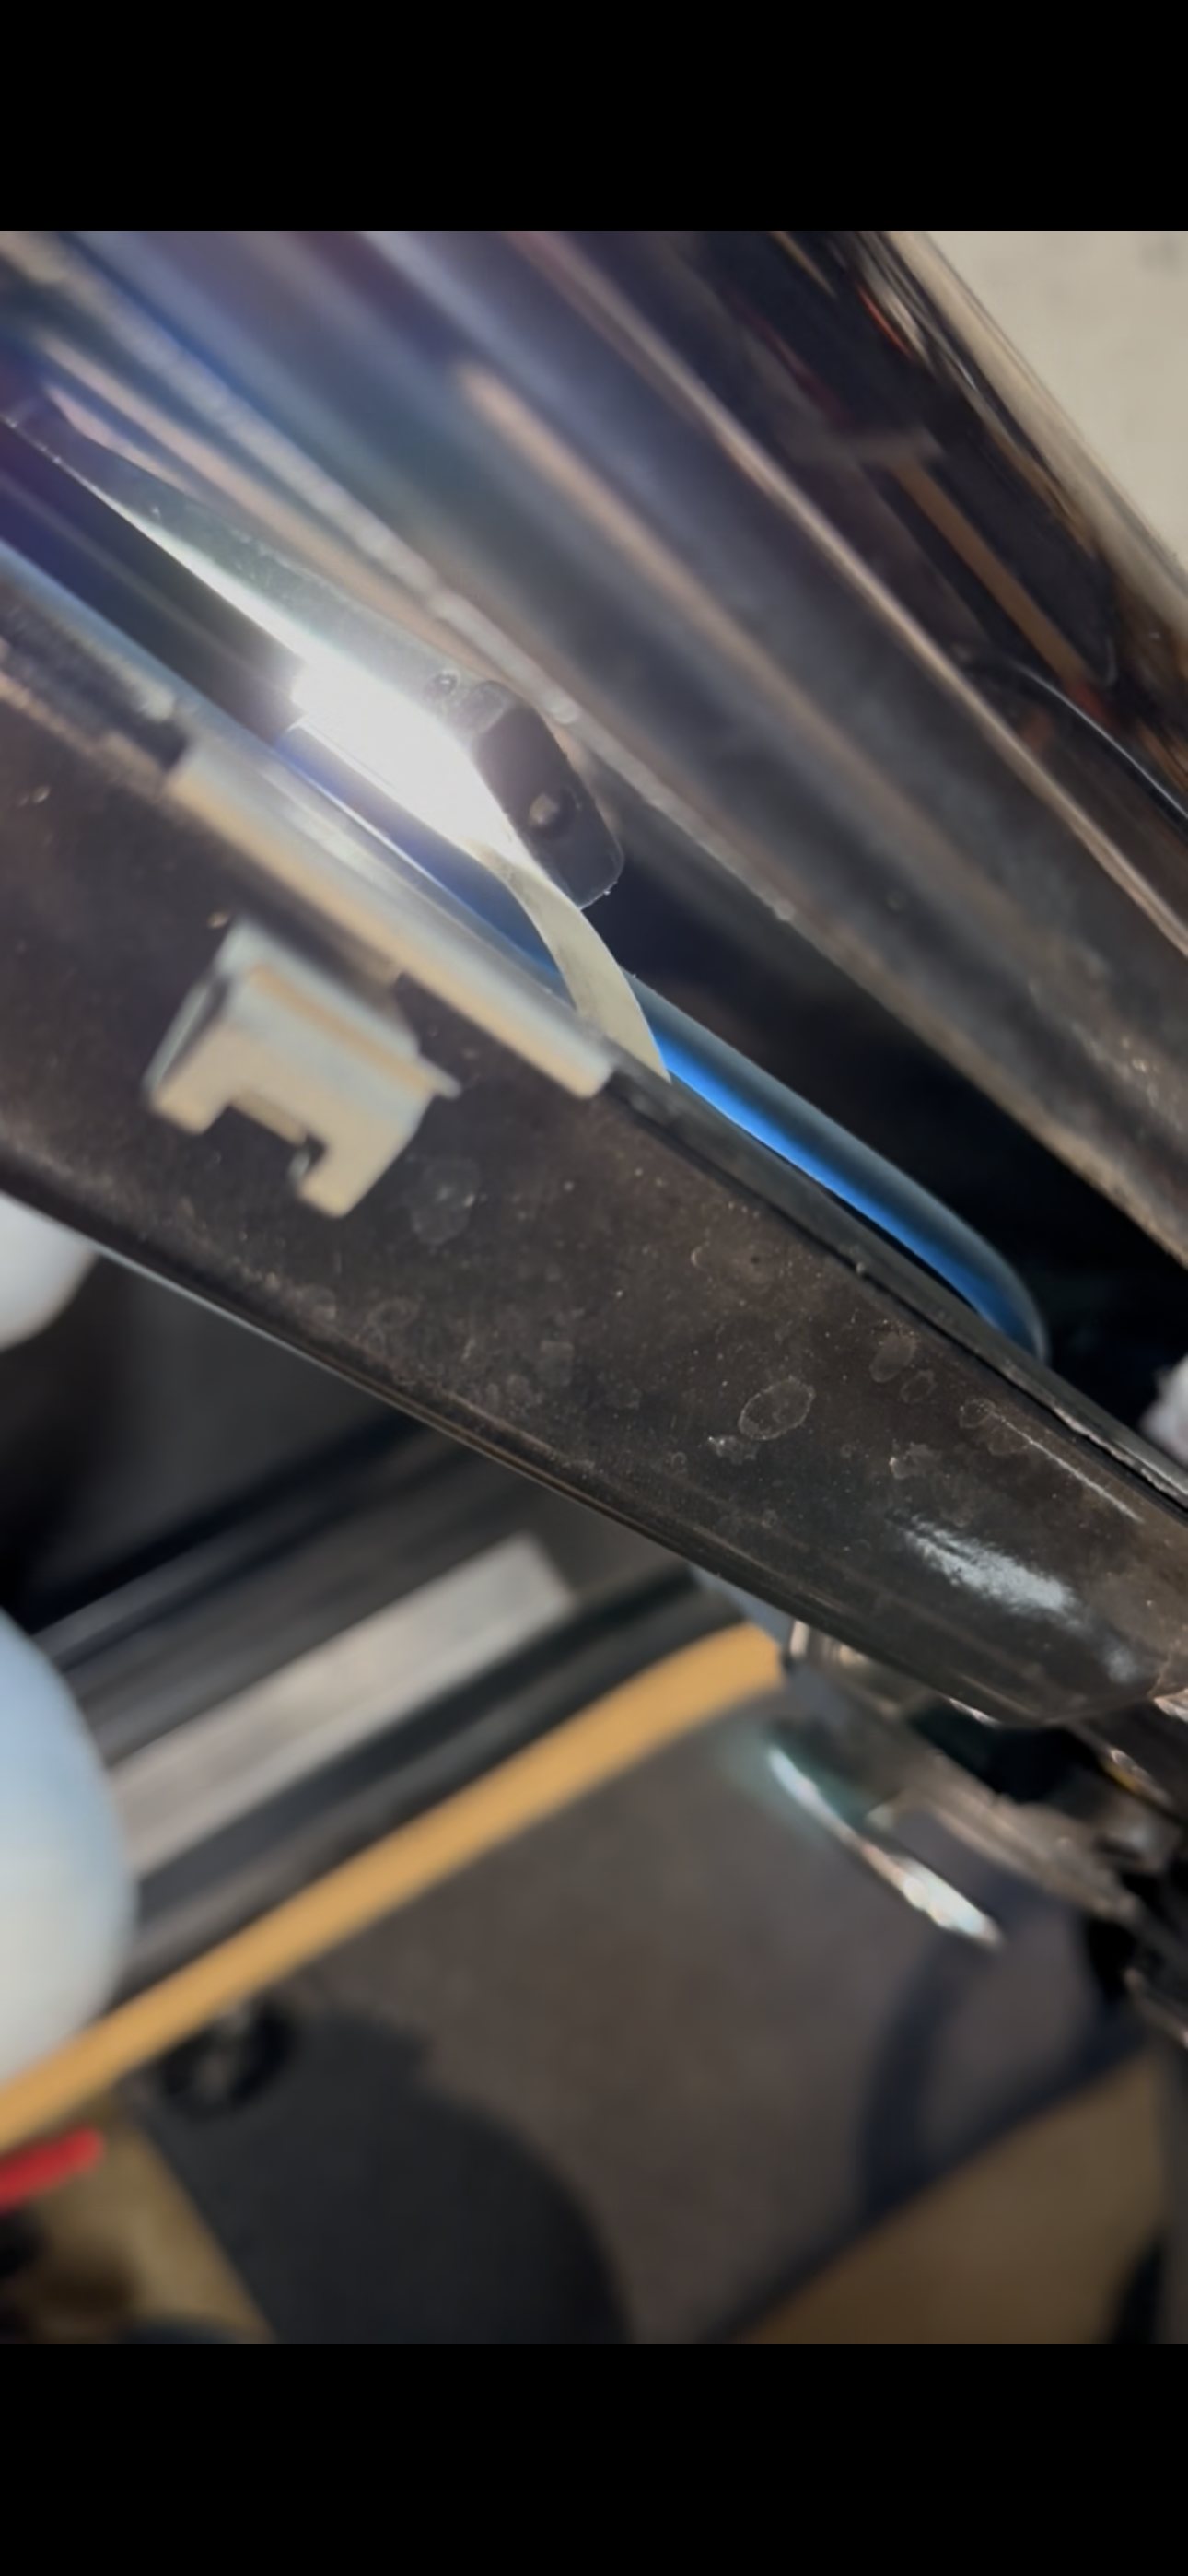
Concentrate on the upper rear cable path. This was the most important routing area on this repair. The cable needed to follow its intended guides without crossing another run, becoming pinched behind a bracket, rubbing a sharp sheet-metal edge or pulling its housing out of its seat. The pulleys and guides also needed to remain aligned.
Replacement regulator installed
              ↓
Cable housings seated in their guides
              ↓
Upper-rear cable path checked for crossing or pinching
              ↓
Glass attached evenly to the regulator
              ↓
Window run through full upward and downward travel
              ↓
Door trim reinstalled only after smooth operation
Check the glass and cables together. Cable routing cannot be verified in isolation. The glass had to sit correctly in the regulator mounts, remain in its window channels and move without contacting wiring, brackets or the regulator cables. Excessive tilt would have been a reason to stop and correct the attachment or alignment before continuing.
Repair Performed
- Removed the driver's interior door trim to access the window mechanism
- Supported and separated the window glass as required for regulator removal
- Removed the original driver-side window regulator
- Installed the customer-supplied replacement window regulator
- Checked that the cable housings were seated and the cable runs followed their guides
- Inspected the upper rear cable path for crossing, pinching, rubbing or interference
- Checked pulley and guide alignment
- Attached the glass and verified that it sat correctly in the regulator mounts and channels
- Temporarily reconnected the electrical components needed to operate the window
- Tested the mechanism before completing door reassembly
The regulator brand, part number and warranty were not documented. This case records the installation and verification without endorsing an unidentified customer-supplied component.
Parts Used
- Driver Window Regulator Customer-supplied replacement
Verification
The driver's window was operated repeatedly through its full upward and downward travel while the mechanism was still accessible.
The check looked for:
- Smooth movement in both directions
- Even glass travel without excessive tilt
- Proper seating at the top of the window opening
- Proper lowering into the door
- No cable popping or snapping sounds
- No grinding, binding or visible interference
- No indication of excessive motor strain
- Cable housings remaining seated throughout movement
The window moved smoothly up and down without binding. That functional result, observed before final trim installation, confirmed the regulator, cable routing and glass alignment were working together correctly.
Technician Notes
The upper rear corner deserves attention because it becomes difficult to see once the regulator is positioned and the door is closed up. A cable routed on the wrong side of a bracket may not stop the first movement. It can instead add friction, change the cable angle or rub through over time, making a new regulator appear defective later.
A customer-supplied part does not change the installation standard. The repair still requires a complete routing check, secure glass attachment and repeated functional testing. What it changes is the documentation: without a confirmed brand, part number or warranty, none should be implied.
The order of operations prevented avoidable rework. Testing with the trim removed kept the cables, guides and glass visible while the motor loaded the mechanism in both directions. If the glass had tilted, a cable housing had moved or a guide had interfered, the correction could have been made before the door was reassembled.
The final test was not merely whether the glass moved once. Smooth, repeatable full travel was the standard because a regulator can overcome a small routing error briefly while still being subjected to unnecessary load.
Lessons Learned
- A replacement regulator is not correctly installed until its complete cable path is checked.
- Give extra attention to routing areas that become hidden after the mechanism is positioned.
- A crossed or pinched cable may allow initial movement while creating damaging friction.
- Confirm that every cable housing is fully seated and every pulley and guide remains aligned.
- Check glass attachment and cable routing as one system; either can create uneven movement.
- Keep the glass in its channels and clear of wiring, brackets and regulator cables.
- Test the window through several complete cycles before reinstalling the interior trim.
- Listen for popping, snapping or grinding and stop immediately if the mechanism binds.
- Smooth, even and repeatable travel is a better verification than a single successful movement.
- Do not invent a brand, warranty or failure mode for a customer-supplied component.
Final Outcome
The customer-supplied driver-side window regulator was installed in the 2002 MINI Cooper. The cable path, especially at the upper rear of the driver's door, was checked before the door was closed up. The glass attachment and alignment were verified, and repeated full-travel operation showed smooth upward and downward movement without binding. The door could then be reassembled with the regulator installation functionally confirmed.
Customer Feedback
No direct post-repair customer quote was documented. The completed functional check established that the driver's window moved smoothly through its full range after the regulator replacement.
Photos From This Repair
Questions About This Repair
What was the most important part of this MINI window regulator repair?
Correct cable routing, especially at the upper rear of the driver's door. A replacement regulator can move at first while a crossed, pinched or poorly seated cable is already placing extra load on the mechanism.
Why test the window before reinstalling the door panel?
With the trim still removed, the technician can watch the cable, guides and glass through the full travel. Binding, abnormal noise or uneven movement can be corrected without dismantling the completed door again.
Was the window motor replaced?
The supplied repair record documents replacement of the window regulator only. It does not document replacement of the motor, so the case study does not claim that work was performed.
What brand was the replacement window regulator?
The customer supplied the regulator, but its manufacturer and part number were not documented. No brand, price or warranty is inferred.
Does a moving window prove the regulator was installed correctly?
Not by itself. The glass should travel repeatedly in both directions without binding, grinding, cable noise, excessive tilt or interference before the door is closed up.
Repairs Like This One
- 11 documented Electrical repairs. See them all →